
POPULAR
Dash Cam Loop Recording
Will my Camera Record all the Time? As the number of car crashes and vehicle thefts increase, savvy drivers are leveraging dash cams to capture
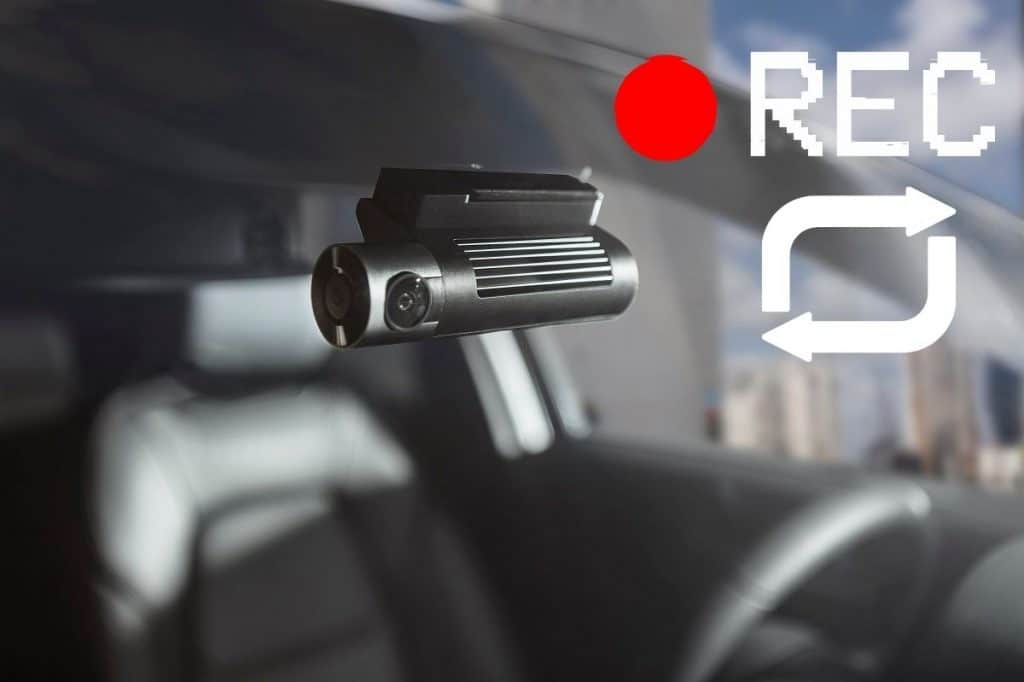
As the number of car crashes and vehicle thefts increase, savvy drivers are leveraging dash cams to capture valuable video footage of the road and surroundings. To ensure the dash cam always has the footage you need, most come with a feature called dash cam loop recording.
Dash cam loop recording explains when the camera continuously captures footage on a nonstop loop. This is accomplished by smart file formatting and by overwriting the oldest footage with the newest. This valuable feature can turn a standard SD memory card into an always-ready reservoir of vehicle footage.
While dash cam loop recording is standard on most dash camera devices, each manufacturer’s camera may offer different functions, features, and versions of the continuous recording dash cam.
Let’s take a closer look at the continuous recording dash cam.
Loop recording, also known as continuous recording, is a feature found on some dash cams that allows the device to record footage continuously and automatically overwrite the oldest footage with the newest. This feature is useful because it allows the dash cam to record indefinitely without the need for manually deleting old footage to make space for new recordings.
When the memory card on the dash cam becomes full, the dash cam will automatically delete the oldest footage to make room for the new recordings. This feature is helpful for ensuring that the dash cam is always recording and ready to capture important events, such as accidents or other incidents.

Dash cam loop recording is made possible by saving footage on the SD card in shorter fragments, such as three or five-minute segments. For instance, if you set your dash cam to record in loops of three minutes, the camera will capture footage in short three-minute clips. Each three-minute clip will be saved individually, such as:
Whenever your device has used all of the memory on the SD card, it will overwrite the oldest footage and replace it with a new three-minute clip. This design allows you to have the latest recordings without being concerned about storage capacity.
Loop recording allows the continuous capture of footage — even if your SD memory is full. Because of this, dash cam loop recording is a quintessential feature of the best equipment.
Here are a few key benefits of a loop recording dash cam:
The amount of time your footage will last before being erased depends on a few factors, including:
A few general estimates for SD card capacities are:

While a continuous recording dash cam offers several benefits, one disadvantage is it may overwrite accident footage if it’s not protected. Fortunately, there are a few different steps you can take to prevent your accident footage from being overwritten:
Some state-of-the-art continuous recording dash cams, such as PROOF, have accident detection and collision detection features. These cameras are equipped with intelligent algorithms that automatically detect the occurrence of accidents. Then, the camera will instinctively protect and store the accident clip to prevent it from being overwritten.
Whether plugged into a 12V source or hardwired into your vehicle’s fused box, most continuous recording dash cams will record footage as long as your vehicle is powered on. These cameras will automatically power up and begin recording as soon as your vehicle’s accessories receive power. At the same time, some cameras will allow you to manually turn it on or off — regardless of whether it has a live power source.
Continuous recording dash cam can capture footage when the vehicle is off.
It typically occurs when the camera is hardwired for power or plugged into an always-on accessory port. At the same time, this capability will depend on the features of your continuous recording dashcam.
At PROOF, we offer more than 20 years of expertise in automotive technology. We’ve leveraged this expertise to create an easy-to-use and easy-to-install loop recording dashcam equipped with state-of-the-art features. Installing your camera is pretty straightforward. Here’s what you’ll need to do:
Once connected and set up, you’ll be able to enable continuous loop recording in the setting if this isn’t already set up, along with a whole host of other camera and video settings.
Will my Camera Record all the Time? As the number of car crashes and vehicle thefts increase, savvy drivers are leveraging dash cams to capture
Benefits & Purpose Explained A dash cam, as the name suggests, is a camera mounted in a vehicle with the purpose of recording all events